
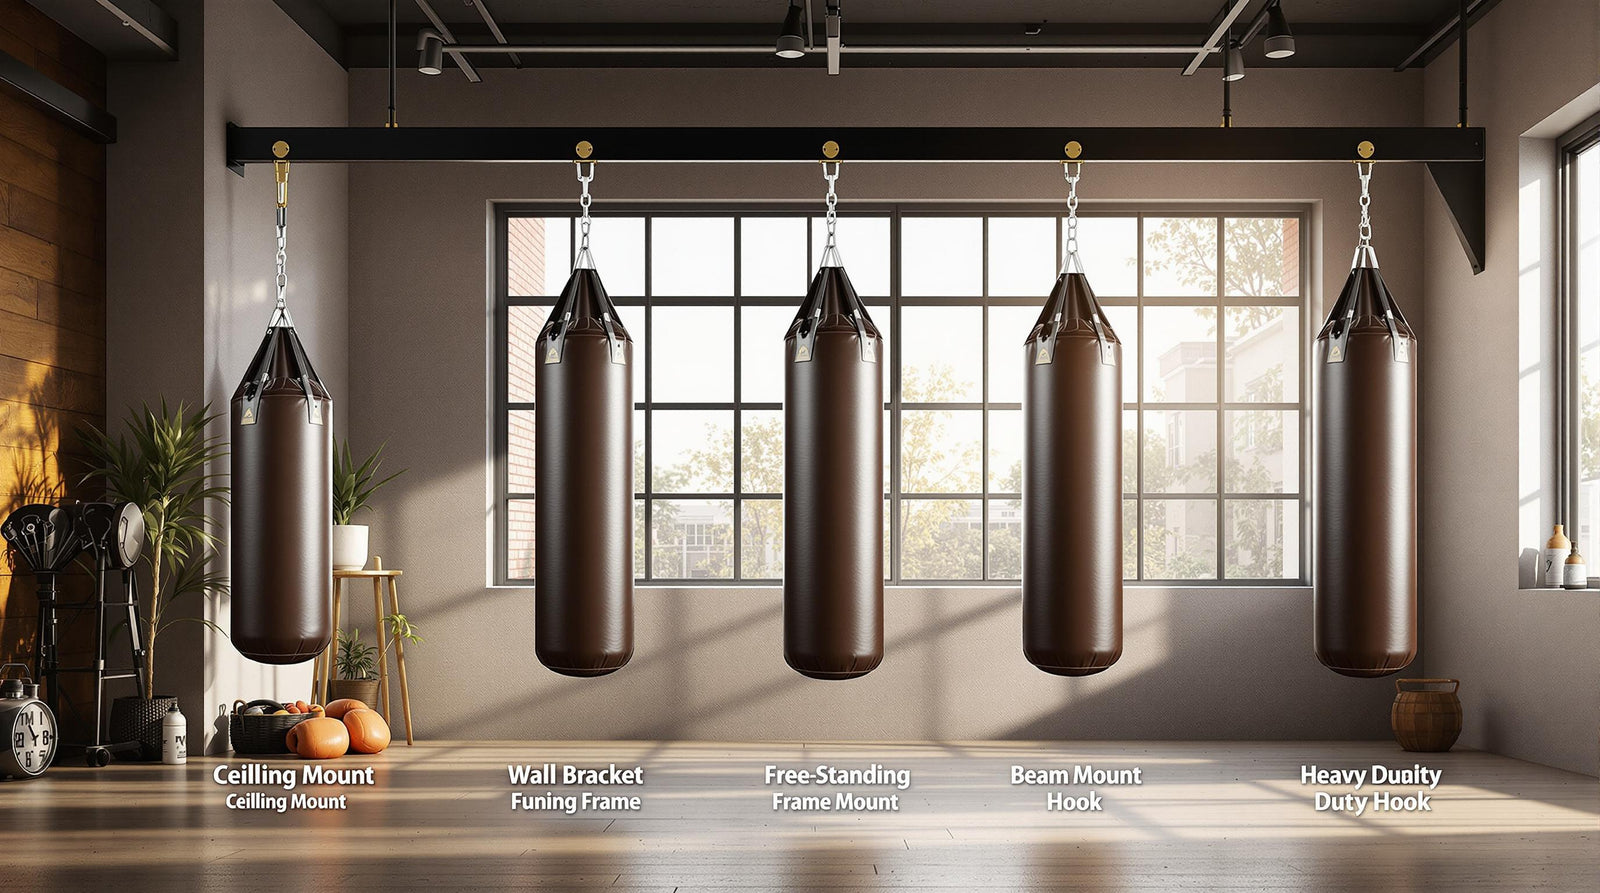
Mounting a punch bag can seem tricky, but it’s all about choosing the right method for your space and needs. Here are 5 popular ways to mount a hanging punch bag, along with their pros and cons:
- Ceiling Mount: Best for permanent setups with full 360° movement. Requires a strong ceiling joist and solid installation.
- Wall Bracket: Great for saving floor space. Works well on sturdy concrete or brick walls.
- Support Beam Mounting: Ideal for garages or basements. Uses existing beams for stability.
- Freestanding Stand: Portable and easy to assemble. Perfect for renters or spaces where drilling isn’t allowed.
- Strap Mounting: A quick, temporary solution. Works for lighter bags and moderate training.
Quick Comparison
| Mounting Method | Best For | Weight Capacity | Installation Difficulty |
|---|---|---|---|
| Ceiling Mount | Permanent setups | Up to 150 lbs | High |
| Wall Bracket | Saving space | Up to 100 lbs | Medium |
| Support Beam | Low ceilings | Up to 130 lbs | Medium |
| Freestanding Stand | Portability | Up to 100 lbs | Low |
| Strap Mounting | Temporary use | Up to 70 lbs | Low |
Choose the method that fits your space, bag weight, and training intensity. Keep reading to learn how to install each option safely and effectively.
Hanging a Boxing bag instructions | Punch® Equipment
Ceiling Mount Installation
A ceiling mount is a sturdy, permanent way to hang your punch bag, offering full 360-degree movement. Before starting, ensure your ceiling structure can handle the combined weight of the hardware and the bag.
Tools and Materials You'll Need
- Mounting bracket (rated for 100+ lbs)
- Electronic stud finder
- Power drill with a 1/2" drill bit
- Socket wrench set
- 4 lag bolts (1/2" x 3.5")
- 4 washers
- Steel chain (rated for 400+ lbs)
- Spring-loaded carabiner or swivel hook
- Level
- Pencil for marking
- Safety glasses and work gloves
- Measuring tape
Step-by-Step Installation
-
Find the Ceiling Joist
- Use a stud finder to locate the center of a ceiling joist.
- Mark the spots where the mounting bracket will go.
- Double-check your measurements to ensure accuracy.
-
Prepare the Area
- Drill pilot holes at the marked points.
- Make sure the holes align correctly for the lag bolts.
- Clear away any debris from the drilling.
-
Install the Mounting Bracket
- Hold the mounting bracket in place against the ceiling.
- Insert lag bolts through washers and into the pilot holes.
- Tighten the bolts securely using a socket wrench.
- Test the stability by applying downward pressure on the mount.
-
Attach the Punch Bag
- Connect the steel chain to the mounted bracket.
- Adjust the chain length to set the punch bag at your desired height.
- Use a carabiner or swivel hook to secure the bag.
- Gently push the bag to ensure everything is securely in place.
Benefits of a Ceiling Mount
A ceiling mount comes with several advantages:
| Feature | Benefit |
|---|---|
| 360° Movement | Lets you practice a wide range of training techniques with full motion. |
| Space-Saving | Keeps your floor clear when the bag isn’t in use. |
| Stability | Provides a solid setup for heavy bags weighing up to 100 lbs. |
| Durability | A long-lasting solution requiring little upkeep. |
Wall Bracket Setup
Mounting a punch bag on a wall bracket is a great way to save space while keeping the setup sturdy. This method works best with solid concrete or brick walls that can handle heavy loads. Here's everything you need to know to get started.
Tools and Materials You'll Need
- Heavy-duty wall bracket (rated for 100+ lbs)
- Masonry drill with a 5/8" concrete bit
- 4 expansion bolts (5/8" x 4")
- Washers and nuts
- Steel mounting chain (rated for 400+ lbs)
- Heavy-duty swivel hook
- Hammer drill
- Level
- Measuring tape
- Safety gear (goggles, dust mask, work gloves)
- Pencil for marking
- Socket wrench set
How to Mount the Wall Bracket
1. Choose the Right Location
Pick a wall that's at least 4 feet away from corners or windows. Make sure there are no electrical wires or plumbing behind the wall. Use a stud finder to confirm the wall's structure.
2. Position the Bracket
Mark the spot where the bracket will go - 7.5 feet high and extending 18 inches from the wall. Use a level to ensure it's straight.
3. Install the Bracket
Line up the bracket and mark the drill points. Drill pilot holes using the masonry drill, then insert the expansion bolts. Tighten the bolts evenly with a socket wrench. Test the setup by applying 150% of the bag's weight to ensure it holds securely.
Key Features of Wall Brackets
Wall brackets come with several benefits and considerations, especially for specific training setups:
| Feature | Benefit | Consideration |
|---|---|---|
| Space Saving | Keeps the floor area clear | Requires 4-foot clearance |
| Sturdy Design | Reduces lateral movement | Best for straight punches and combos |
| Permanent Setup | One-time installation | Not easily moved once installed |
| Weight Capacity | Handles bags up to 100 lbs | Wall strength affects the weight limit |
| Training Range | Allows a 180-degree arc | Less range than ceiling mounts |
For the safest and most effective setup, make sure your wall can handle at least twice the combined weight of the bracket, hardware, and punch bag. Regularly inspect the bolts and mounting points to ensure everything stays secure.
Support Beam Mounting
Support beam mounting is a reliable way to hang punch bags in garages, basements, or industrial spaces. By using the existing structure, you can create a sturdy setup for training. Here's how to securely install a beam mount.
Tools and Equipment
You'll need the following items:
- 1/2-inch grade 8 eyebolt (rated for 2,000+ lbs)
- Heavy-duty drill with a 1/2-inch drill bit
- Adjustable wrench or socket set
- Steel mounting chain (rated for 400+ lbs)
- Heavy-duty spring clip or S-hook
- Measuring tape and level
- Safety gear (goggles, gloves)
- Beam clamp (optional for I-beams)
- Thread-locking compound
Beam Mount Steps
Once you have your tools ready, follow these steps:
1. Inspect the Beam
Check that the beam is free of damage and made of solid wood or steel. It should be at least 6 inches wide and capable of supporting at least 300 lbs of dynamic load.
2. Mark and Prepare
Find the beam's center point where you'll mount the bag. Make sure there's at least 4 feet of open space around the bag. For wooden beams, drill a pilot hole with a 3/8-inch bit to avoid splitting.
3. Install the Mount
Drill a 1/2-inch hole, insert the eyebolt with a washer, and tighten it securely with an extra 1/4 turn. If you're working with a steel I-beam, use a beam clamp rated for the appropriate weight.
Beam Mount Features
Here’s a quick look at what this type of mount offers:
| Feature | Benefit | Limitation |
|---|---|---|
| Load Capacity | Can handle up to 300 lbs | Depends on the beam's strength |
| Installation Type | Semi-permanent setup | Requires an existing beam structure |
| Movement Range | Full 360-degree rotation | Height depends on beam placement |
| Cost Efficiency | Requires minimal hardware | May need a professional inspection |
| Maintenance | Easy to check and maintain | Bolts need regular tightening |
Make it a habit to inspect the mounting hardware every three months or after heavy use. Check the eyebolt threading and ensure the beam remains in good condition.
sbb-itb-fdb331a
Freestanding Stand Setup
A freestanding punch bag stand is a great option when permanent mounting isn't possible or practical. It combines stability with portability, making it perfect for home gyms, garages, or spaces where drilling into walls or ceilings isn't allowed.
Space and Equipment Needs
Before you begin setting up, make sure you have the following:
- Floor space: At least an 8' x 8' area with a ceiling height of 10'.
- Level surface: A solid, flat surface like concrete or reinforced flooring.
-
Tools for assembly:
- Adjustable wrench
- Socket set (14mm-17mm)
- Rubber mallet
- Level tool
- Measuring tape
The stand itself typically takes up about 4' x 4', but you'll need extra space around it to move safely during use.
Stand Setup Steps
Once you've confirmed your space and gathered the tools, follow these steps to assemble the stand:
1. Base Assembly
Position the base frame on a flat, level surface. Most stands feature a cross-shaped or H-shaped base for even weight distribution. Align all bolts carefully before tightening them.
2. Support Structure
Attach the vertical supports, using thread-locking compound to ensure the structure stays perfectly upright.
3. Stabilization
Add 45–90 lbs of sandbags or weight plates to the base to keep the stand stable during use.
Stand Features
Here’s a quick overview of what freestanding stands typically offer:
| Feature | Specification | Benefit |
|---|---|---|
| Weight Capacity | 70-100 lbs | Works with most standard bags |
| Height Range | Adjustable from 7'-9' | Fits users of various heights |
| Base Stability | 45-90 lbs ballast | Reduces tipping during workouts |
| Assembly Time | 30-45 minutes | Quick setup, no drilling needed |
| Portability | Breaks into 5-6 pieces | Easy to store and transport |
To keep your stand in top condition, check and tighten all connection points weekly. Avoid excessive side-to-side bag movement, as it can strain the stand and affect its stability.
Strap Mounting Method
Strap mounting is a practical solution when permanent mounts aren't an option. Here's what you need and how to set it up effectively.
Required Materials
To ensure a secure setup, gather the following:
- Heavy-duty mounting straps (rated for at least 300 lbs)
- D-ring or carabiner attachments (minimum of 2)
- Swivel hook (designed for dynamic loads)
- Protective padding for contact points
- Measuring tape
- Level tool
Choose straps with reinforced webbing, industrial-grade stitching, and sturdy metal hardware for maximum durability.
Strap Setup Steps
1. Location Selection
Pick a strong overhead support that can handle the bag's weight and the forces it will endure during use. Ensure the mounting point is at least 3 feet away from any walls.
2. Strap Preparation
Wrap the straps around the support beam, making sure they are evenly distributed and free of twists to maintain their strength.
3. Attachment Points
Use the swivel hook to connect the D-rings or carabiners, then attach these to the punch bag's mounting points. The swivel mechanism reduces wear by allowing smooth bag rotation.
4. Height Adjustment
Adjust the bag so its center aligns with the primary user's shoulder height. The bottom of the bag should hang about 24 inches above the floor.
Best Uses for Straps
Strap mounting is ideal for certain situations:
| Scenario | Benefits | Considerations |
|---|---|---|
| Temporary Setups | Quick to install/remove | Regular strap checks needed |
| Rental Properties | No permanent changes | Requires sturdy supports |
| Shared Spaces | Easy to store | May need periodic adjustment |
| Variable Training Areas | Flexible placement | Always verify support strength |
Important Tips:
- Always check strap tension before each session.
- Replace any straps that show wear or fraying.
- Lubricate mounting hardware to prevent rust.
- Ensure at least 2 feet of clearance around the bag for safe use.
Safety and Maintenance Guide
Keeping your punch bag setup in top shape requires regular maintenance and safety checks. This ensures safe training sessions and helps your equipment last longer.
Regular Checks
Here’s what to inspect:
Ceiling and Wall Mounts
- Tighten mounting bolts and brackets every week.
- Check for cracks or stress marks in the surrounding areas.
- Test the swivel mechanism monthly to ensure it rotates smoothly.
- Look for metal fatigue or rust every three months.
Support Beams and Straps
- Inspect support points before every session.
- Check straps for wear and tear weekly.
- Make sure carabiners and D-rings are securely locked.
- Test the beam's stability monthly for any signs of movement or creaking.
These inspections are essential to avoid accidents and maintain reliable performance.
| Component | Check Frequency | Warning Signs |
|---|---|---|
| Mounting Hardware | Weekly | Loose bolts, rust, squeaking |
| Support Structure | Monthly | Cracks, stress marks, movement |
| Connection Points | Before Use | Wear, deformation, sharp edges |
| Safety Features | Bi-weekly | Missing parts, damage, corrosion |
Equipment Sources
For reliable and durable mounting gear, check out Bytomic Martial Arts. Their Pro Mountings line includes:
- Ceiling mounts built to hold bags up to 150 pounds.
- Reinforced wall brackets with added stabilization features.
- Mounting chains and hardware designed for heavy use.
- Industrial-strength swivel mechanisms for smooth operation.
Why Choose Their Equipment?
- Load ratings are clearly provided for all hardware.
- Installation guides are detailed and easy to follow.
- Products meet recognized international safety standards.
- Backup safety systems are included with mounting accessories.
Conclusion
Choose your mounting method based on your space, the bag's weight, and how intense your training sessions are.
- Ceiling Mounts: Ideal for home gyms with sturdy ceiling joists. They can handle bags weighing up to 150 pounds.
- Wall Brackets: Great for saving floor space. Best suited for concrete or brick walls and bags under 100 pounds.
- Support Beam Mounts: Perfect for garages or basements with lower ceilings.
- Freestanding Stands: Portable and flexible, making them a good option for renters.
- Strap Mounting: A quick, temporary choice for lighter bags.
Here's a quick comparison of these options:
| Mounting Method | Best For | Weight Capacity | Installation Difficulty |
|---|---|---|---|
| Ceiling Mount | Permanent Setup | Up to 150 lbs | High |
| Wall Bracket | Saving Space | Up to 100 lbs | Medium |
| Support Beam | Low Ceilings | Up to 130 lbs | Medium |
| Freestanding Stand | Portability | Up to 100 lbs | Low |
| Strap System | Temporary Use | Up to 70 lbs | Low |
Each method serves different needs, so pick the one that fits your setup and training style. Proper installation and regular maintenance are key to safety and performance. For professional-grade hardware, check out Bytomic's Pro Mountings line.